Follow these simple steps to activate your eSIM and get connected in minutes
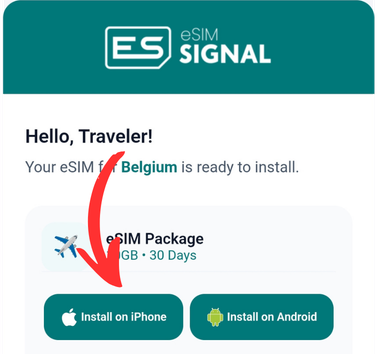
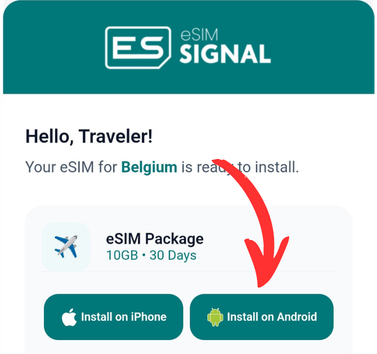
After purchase you will receive an email with the Install button. You can also go to My Account → My eSIMs and click the installation button there.
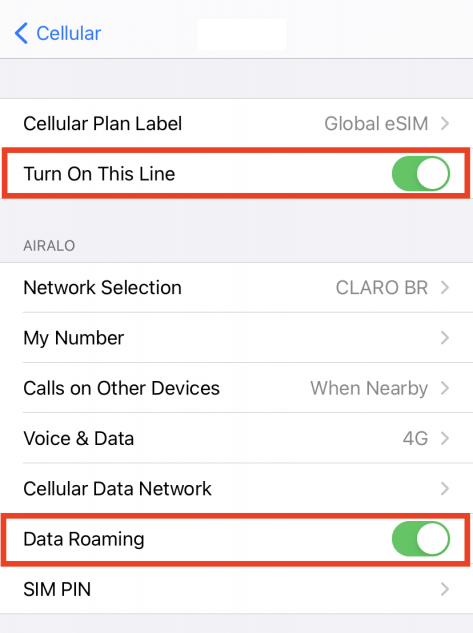
After installation, go to Cellular, turn the Line On for the eSIM and then change it as Primary for Cellular Data. Your main SIM can remain as secondary.
Turn on Data Roaming for the installed eSIM. You can view the screenshots for help.
You can track your remaining data anytime from the My eSIMs page.
Click the Install Button or Scan QR Code or Long Press to QR Code. Each method does the same thing.
After purchase you will receive an email with the Install button. You can also go to My Account → My eSIMs and click the installation button there.
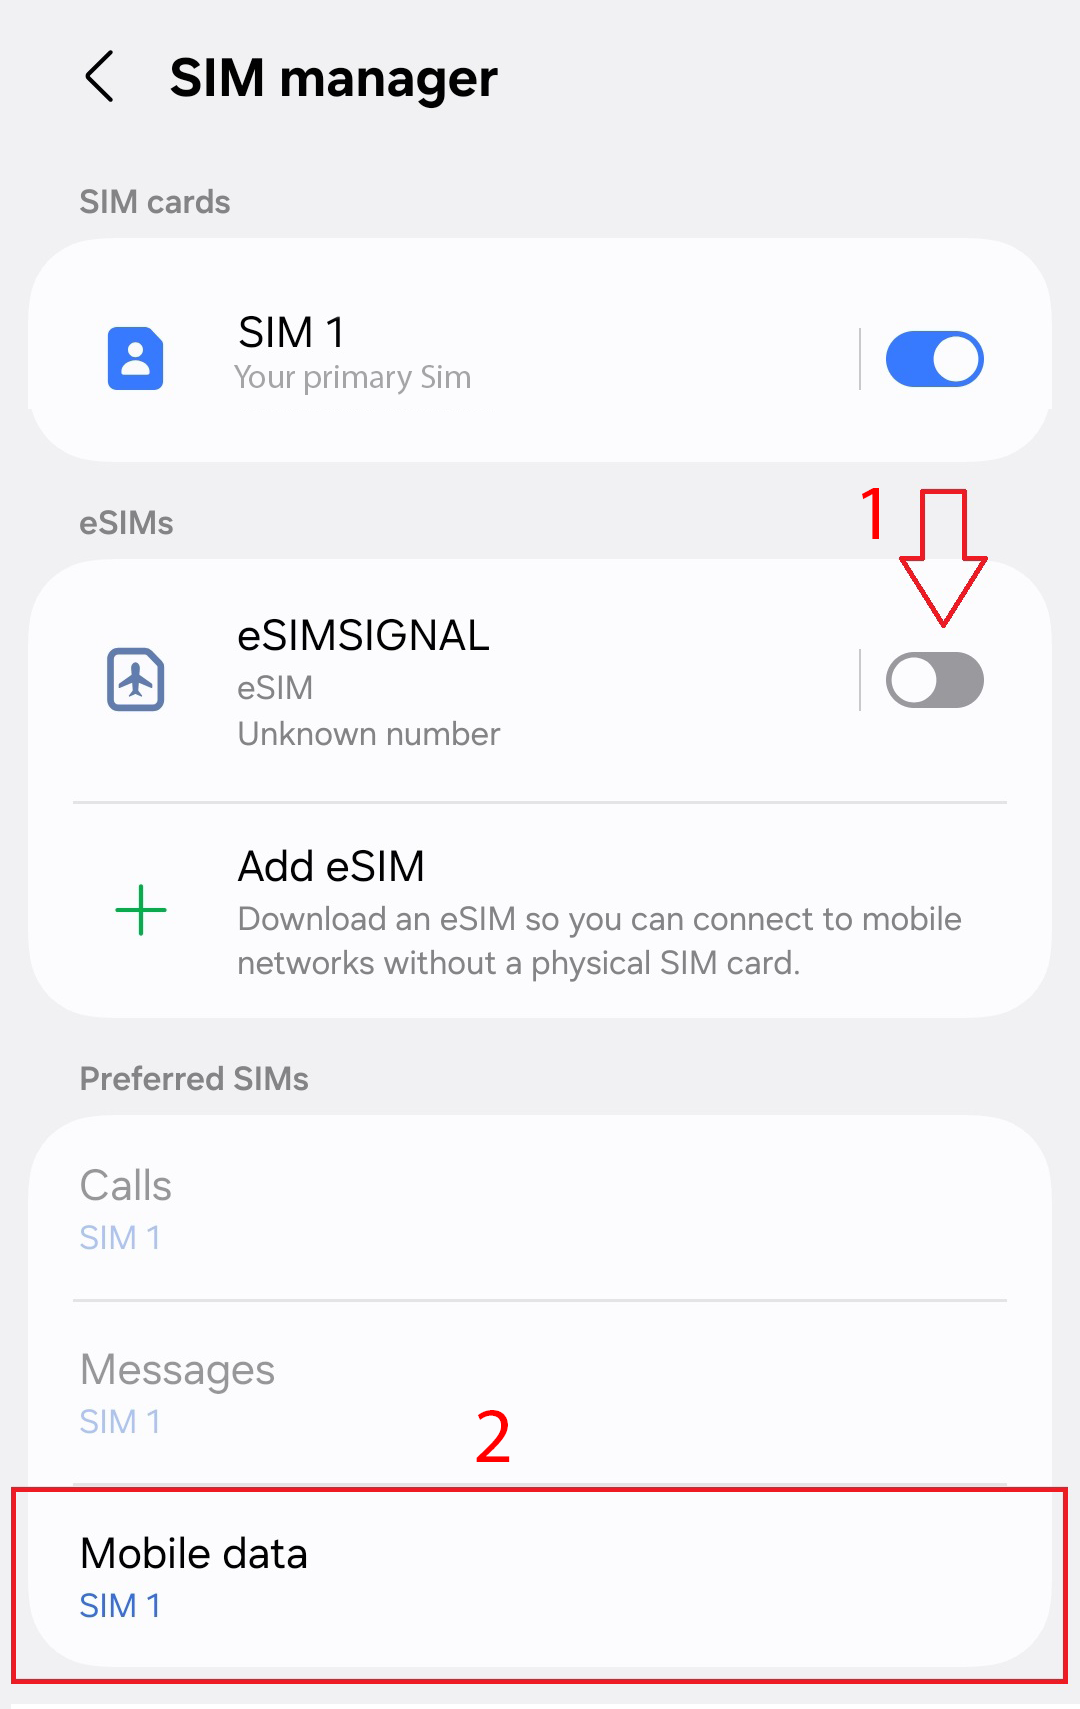
After installation, open your SIM settings and set the eSIM as Primary for Mobile Data. Your main SIM can remain as secondary.
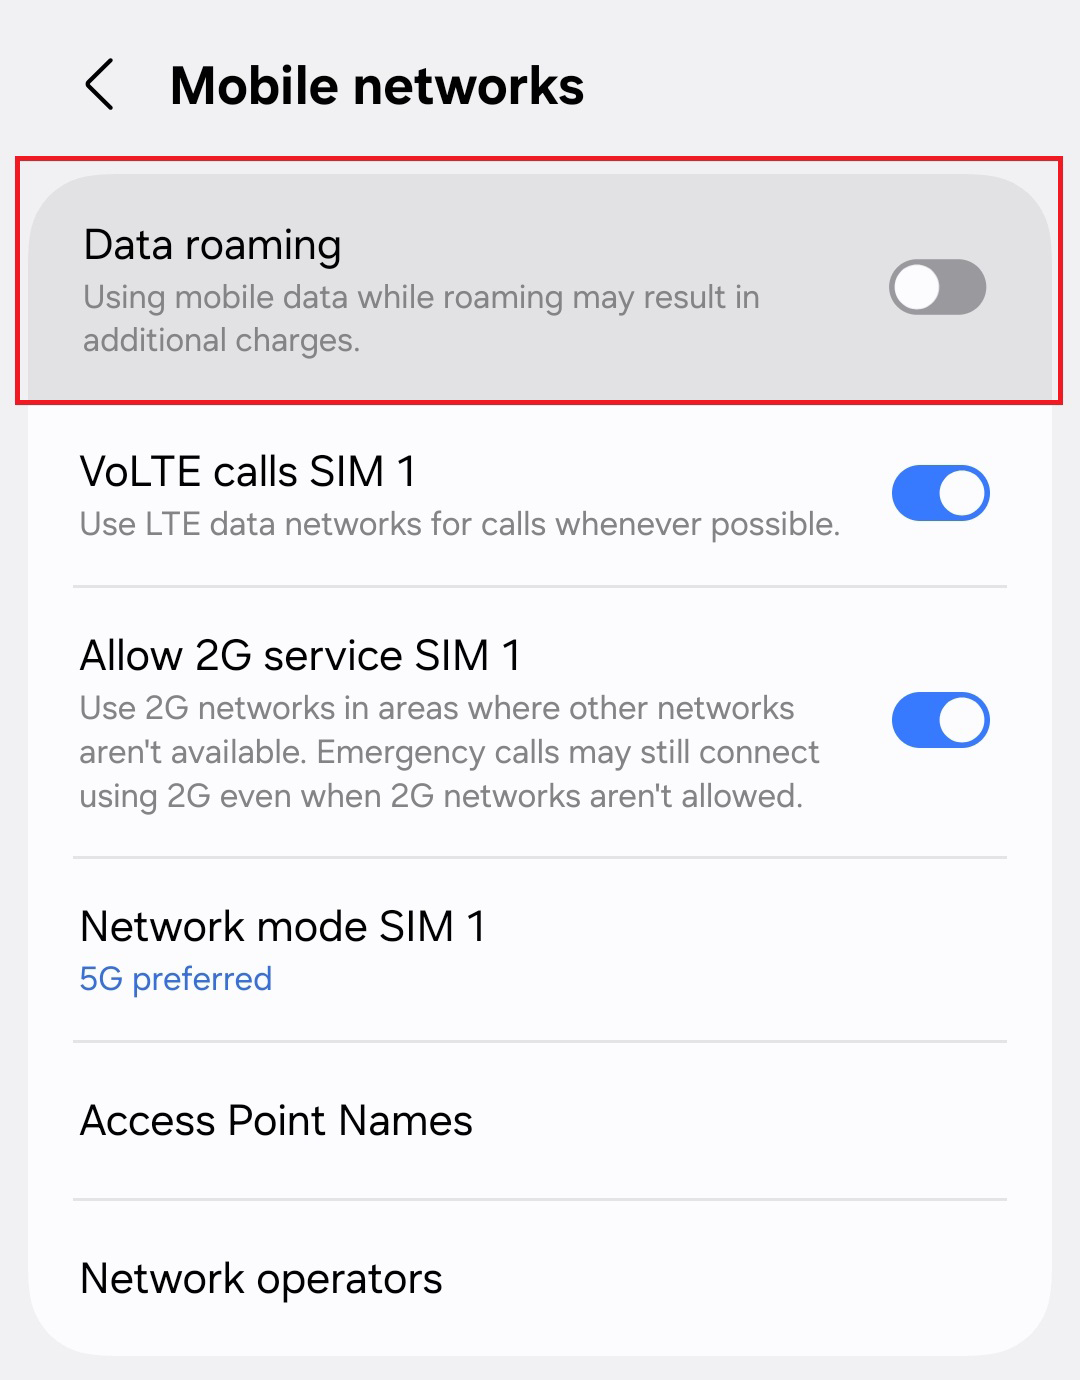
Turn on Data Roaming for the installed eSIM. You can view the screenshots for help.
You can track your remaining data anytime from the My eSIMs page.
Install the eSIM directly from your email or My eSIMs page.
 EN
EN
 AL
AL